
Preparing a Concept Plan
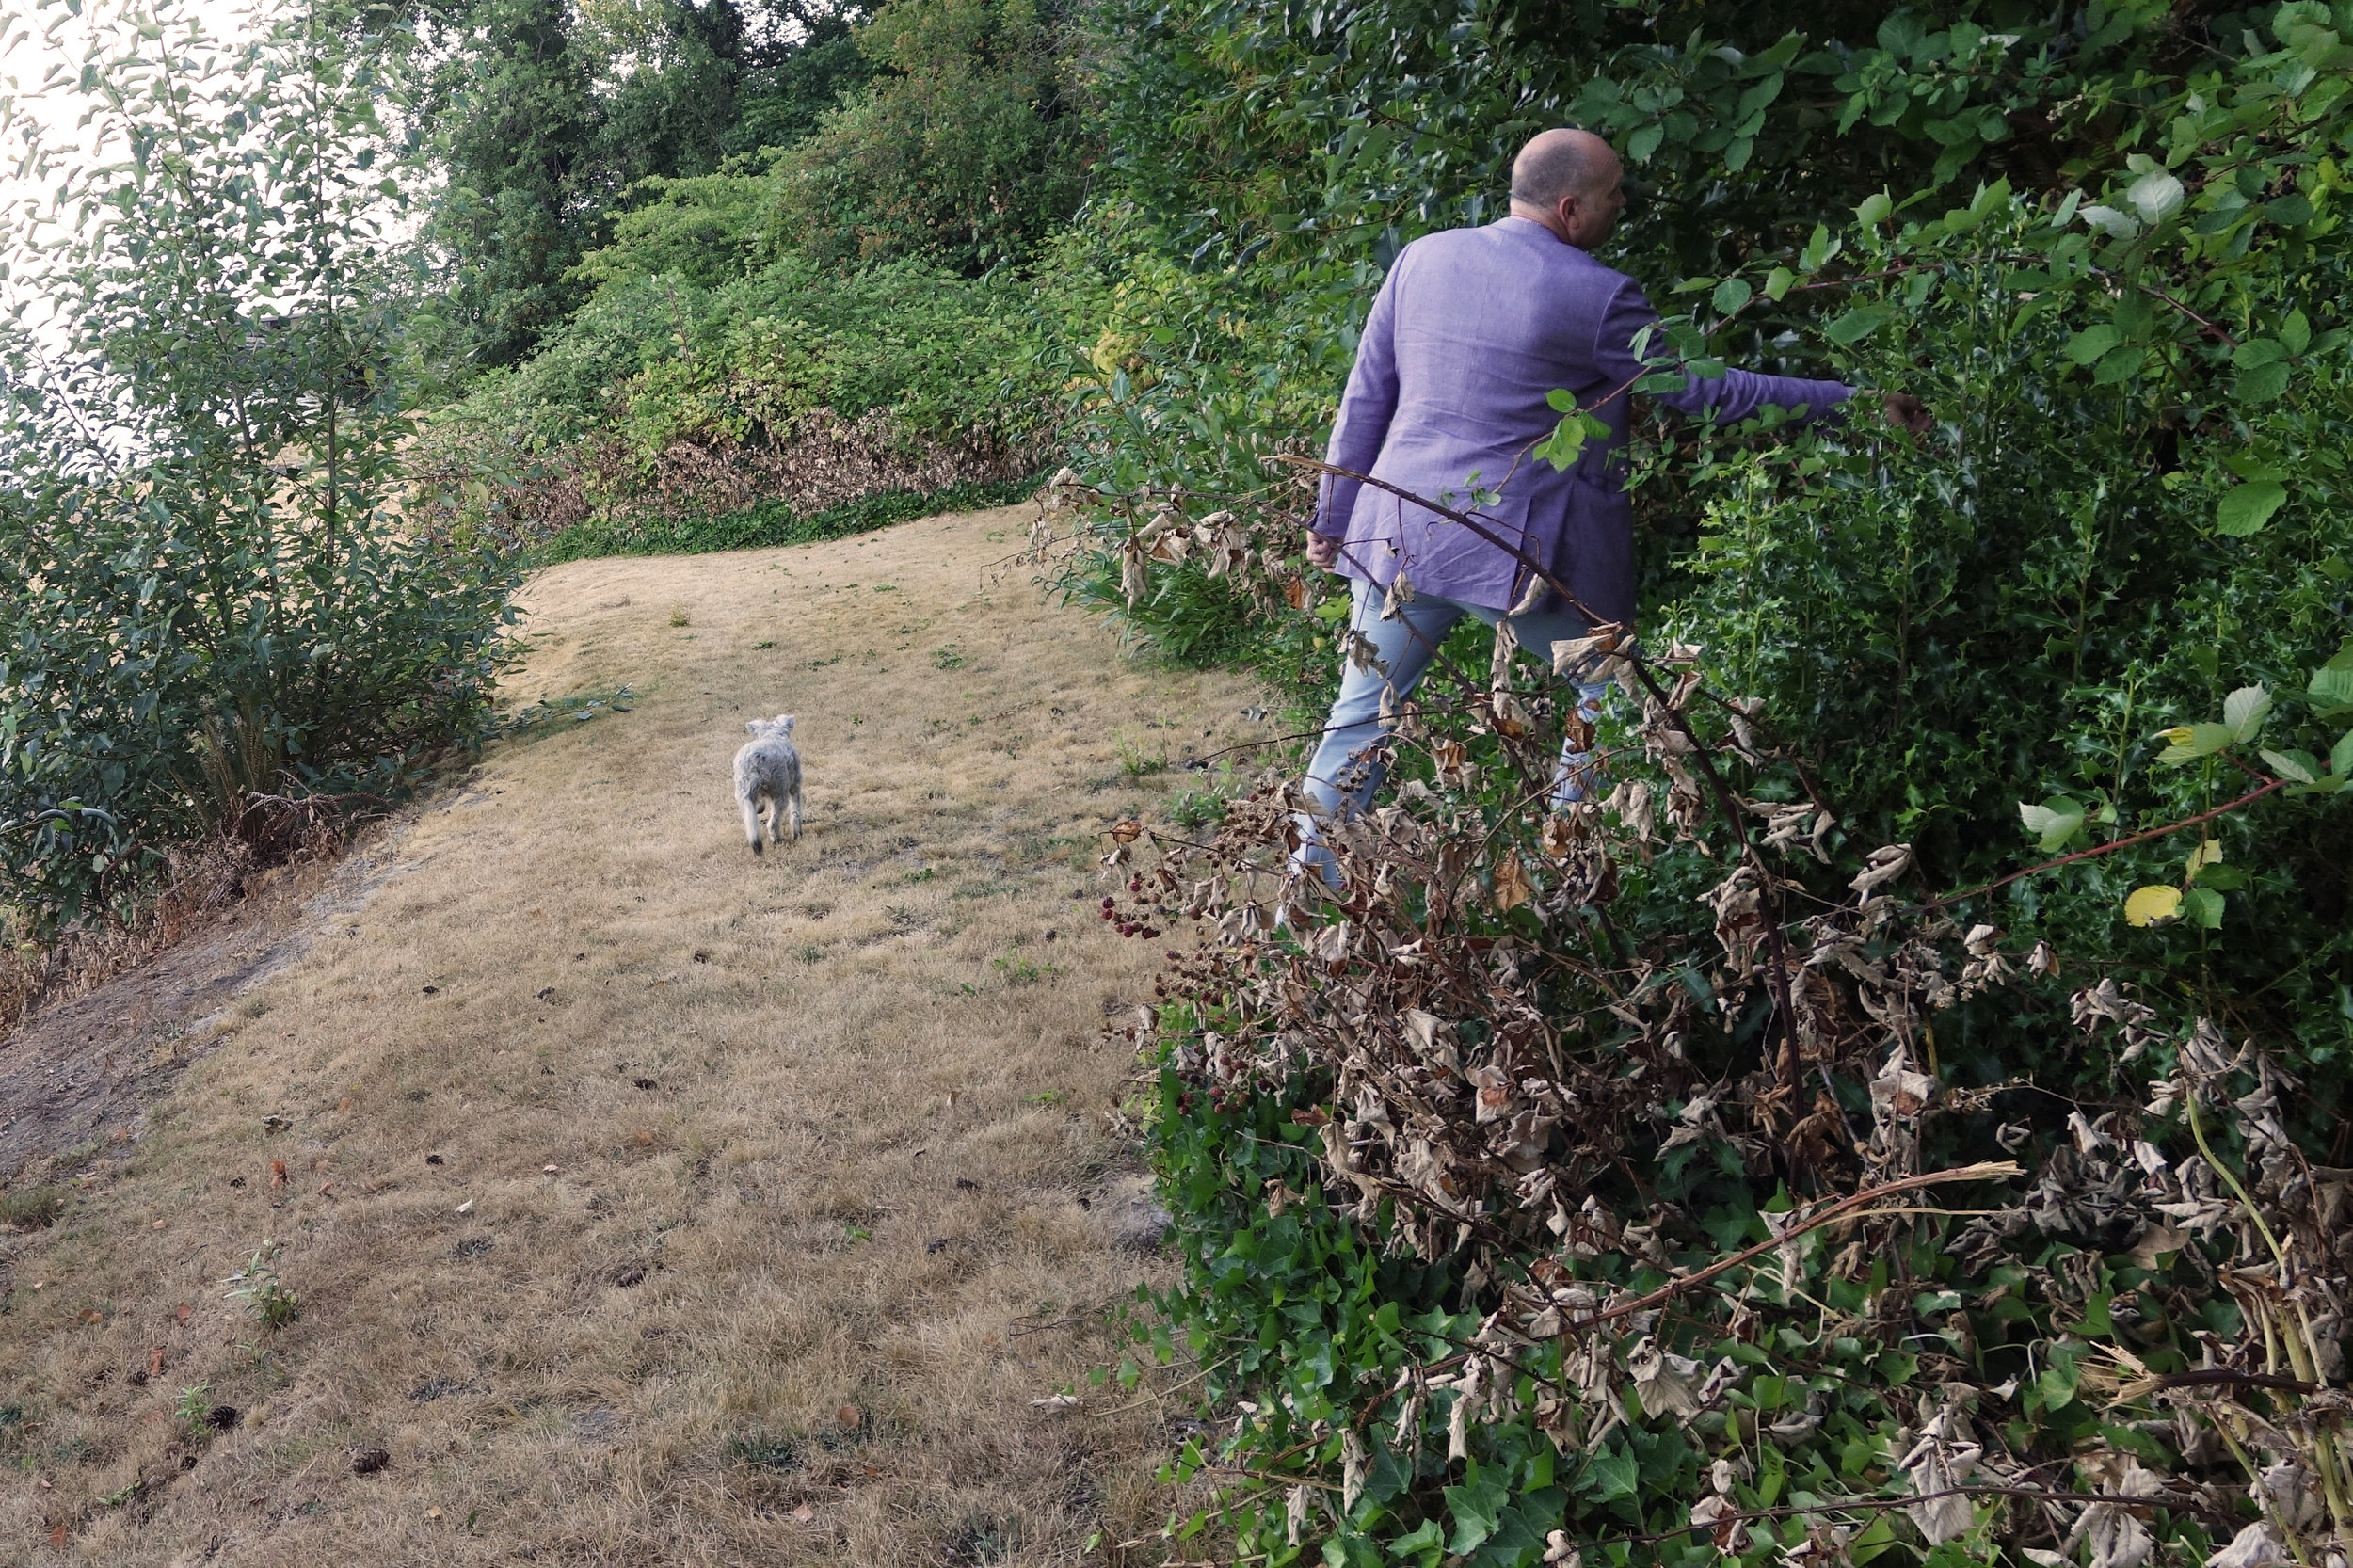
Richard and Astro on a site visit
Step One:
Information gathering
Having just completed conceptual designs for the second project in as many weeks, the method of how we design has been fresh in my mind.
Our first step is to meet with the client and visit the site. We discuss the client’s needs, desires, and what isn’t currently working with the space. We also take numerous pictures of the site, looking for both opportunities and constraints. At this time, we begin to gather background information, such as aerial photos, surveys, and architectural plans.

The aftermath of a conceptual design meeting
STEP TWO:
THE WORKSHOP
After we’ve gathered our information, we sit down together for an internal team meeting. We bring out the trace paper and colored pencils, refill our coffee cups, and spread out over the conference table. Ideas are freely flowing, hampered only by our ability to scribble them down quickly.
At this stage, we’re discussing broad concepts and themes: how different aspects of the space will work together at a high level. Sometimes it’s a little difficult to interpret our own drawings afterward, so we jot down lots of notes as well.
Next, one person takes the notes and scribbles and coalesces them into the initial concept design. This is usually hand-drawn in black and white; it is far more precise than a sketch but not as exact (and time-consuming) as a drafted plan. Depending on the project, we will generate one to three concepts.

A black and white conceptual drawing

Rough color of the concept
STEP THREE:
REFINING THE CONCEPT
Traditionally, everything at this stage was done analog, with hand drawn lines and color in pencil or marker. Now, it’s easy to combine analog and digital techniques and get the best of both worlds.
The black and white linework is scanned, cleaned up, and brought into Photoshop, where it is digitally rendered. By utilizing Photoshop’s tools such as layers, pattern overlays, masks, and transformation, we’re able to keep the warmth of hand-drawn images while also maintaining the easy editability of digital tools. If we need to move an arbor or shorten a swimming pool, we do not need to re-draw and re-color the whole plan. We’re able to re-draw just that element and seamlessly insert it into the digital file.
As the rendered concept comes closer to completion, we begin creating our presentation boards using InDesign. We can link the draft conceptual design, which will update itself in InDesign as changes are made in Photoshop (much like an external reference in AutoCAD). We add labels, notes, diagrams, and inspiration pictures to help the client understand the design.

Fine details on the conceptual rendering
STEP FOUR:
CLIENT PRESENTATION
Once everything is ready, we meet again with the client. We present the conceptual design(s), explain the ideas, and answer any questions. We help the clients understand the narrative or story of the design. Does it harken to a tradition American homestead? Express organic geometric forms? Is it boldly contemporary with state-of-the-art sustainable construction? How are the problems of the site solved?
And yet, this is not the end of the process. A client might like elements of one design and different elements of another. At this stage, it’s very easy to bring aspects of different concepts together into one cohesive whole. We take feedback from the client to inform the next stage: design development. As we move forward, we take these big ideas and start refining them into buildable solutions.